
There’s something undeniably charming about a well-maintained wooden door. It welcomes you home, adds character to your space, and stands as a testament to craftsmanship. But wooden doors, just like any natural material, demand attention and care to keep looking their best and functioning smoothly. Whether your door has weathered years of sun and rain or just needs a little sprucing up, restoring and maintaining it can be a rewarding project.
Assessing the Condition of Your Wooden Door
Before diving into restoration, it’s important to carefully examine the door. Not all wooden doors will require the same level of work, and knowing exactly what you’re dealing with saves time and effort. A thorough assessment can also help you decide whether a simple refinishing will suffice or if a more extensive repair is necessary. Understanding the door’s history, such as its age and the type of wood used, can provide valuable context for your restoration efforts.
Look for Signs of Damage
Check for cracks, splits, or warping. These issues can compromise the door’s structural integrity and may need more than just surface treatment. Pay close attention to areas near the bottom of the door, where water damage is most common. Additionally, inspect the hinges and frame for any signs of wear or misalignment, as these can affect how well the door operates. A door that sticks or doesn’t close properly might indicate underlying issues that need to be addressed before any cosmetic work can begin.
Rot is another concern. Soft, crumbly wood or darkened patches can indicate decay. If rot is present, it’s essential to remove the affected wood and treat the area to prevent further damage. A thorough inspection should also include checking for insect infestations, such as termites or wood-boring beetles, which can exacerbate the deterioration of the wood. If you suspect an infestation, it may be wise to consult a pest control professional before proceeding with restoration.
Inspect the Finish
Is the paint peeling or the varnish dull? A faded or damaged finish not only looks unattractive but also leaves the wood vulnerable to moisture and UV damage. Determining the state of the finish will guide your choice of restoration techniques. If the finish is still intact but just needs refreshing, a simple sanding and reapplication of varnish or paint may be all that’s required. However, if the finish is severely compromised, you may need to strip it entirely to reveal the bare wood beneath.
Moreover, consider the type of finish originally used on the door. Some finishes, like oil-based paints, require different preparation and application methods compared to water-based products. Understanding these nuances can help ensure that your restoration not only looks great but also lasts longer. Additionally, experimenting with different stains or finishes can allow you to customize the door’s appearance, enhancing its character and complementing your home’s overall aesthetic. For professional guidance and expert services, you can visit PS Handyman Singapore.
Preparing Your Wooden Door for Restoration
Preparation is key to a successful restoration. Skipping this step can lead to uneven finishes or poor adhesion of new coatings.
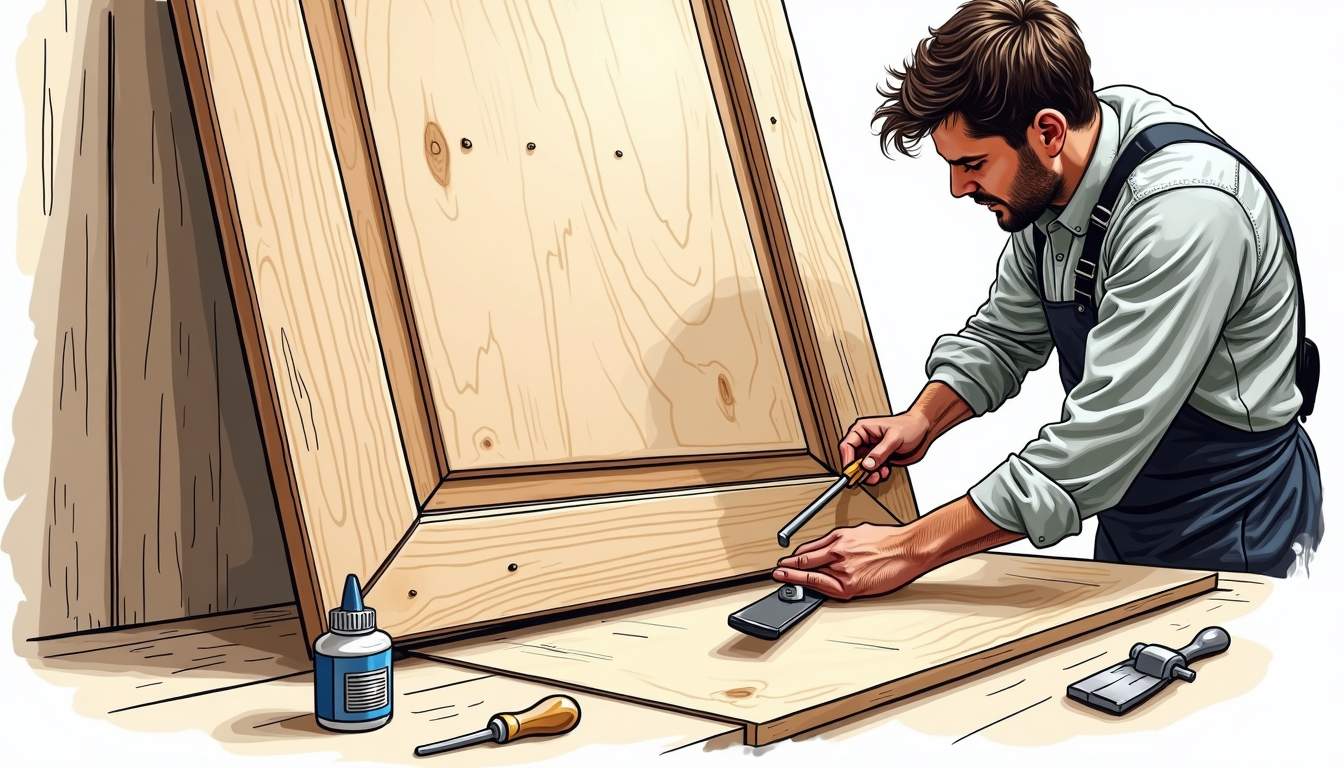
Remove the Door and Hardware
Taking the door off its hinges makes the job easier and safer. Lay it flat on a pair of sawhorses or a sturdy workbench. Remove all hardware such as handles, locks, and hinges. This prevents damage to metal parts and allows you to work freely on every surface. Additionally, it’s a good idea to label each piece of hardware as you remove it, using a small bag or container for organization. This will save you time and frustration when it comes to reassembly.
Clean Thoroughly
Dirt, grease, and old polish can interfere with sanding and finishing. Use a mild detergent mixed with water and a soft cloth to wipe down the door. For stubborn grime, a gentle scrub with a soft-bristled brush helps. Rinse with clean water and let the door dry completely before proceeding. If your door has accumulated years of wax or oil, consider using a specialized cleaner designed to break down these residues. This will ensure that the surface is perfectly prepped for the next steps, allowing the new finish to adhere properly and last longer.
Strip Old Paint or Varnish
If the door has layers of old paint or varnish, stripping them off is often necessary. Chemical paint strippers work well but require careful handling and proper ventilation. Apply the stripper according to the instructions, wait for the finish to bubble up, then scrape it off with a plastic scraper to avoid gouging the wood. Always wear gloves and a mask to protect yourself from fumes and skin irritation. It’s also wise to test the stripper on a small, inconspicuous area first to ensure it doesn’t damage the wood beneath.
For a more natural approach, sanding can also remove old finishes, especially if they’re not too thick. Start with coarse-grit sandpaper to remove the bulk, then move to finer grits for smoothing. As you sand, pay attention to the wood grain; sanding with the grain will help prevent scratches and maintain the natural beauty of the wood. After sanding, vacuum the dust and wipe the surface with a tack cloth to ensure it’s clean and ready for the next stage of restoration. This meticulous attention to detail at this point will pay off immensely when it comes time to apply your new finish.
Repairing and Restoring the Wood
Once the door is stripped and clean, it’s time to address any damage.
Filling Cracks and Holes
Wood filler or epoxy putty is ideal for filling small cracks and holes. Choose a product that matches the wood color or can be stained later. Apply it with a putty knife, pressing firmly to fill gaps completely. After it dries, sand the area smooth to blend with the surrounding wood.
Dealing with Rot and Warping
For minor rot, remove the decayed wood with a chisel or scraper. Then, treat the area with a wood hardener to stabilize the remaining wood before filling with epoxy or filler. Severe rot may require replacing sections of the door or consulting a professional.
Warping can sometimes be corrected by carefully moistening and clamping the door back into shape, but this is tricky and not always successful. Prevention through proper sealing and maintenance is the best defense.
Sanding: The Key to a Smooth Finish
Sanding prepares the wood surface for staining or painting, ensuring a flawless finish.
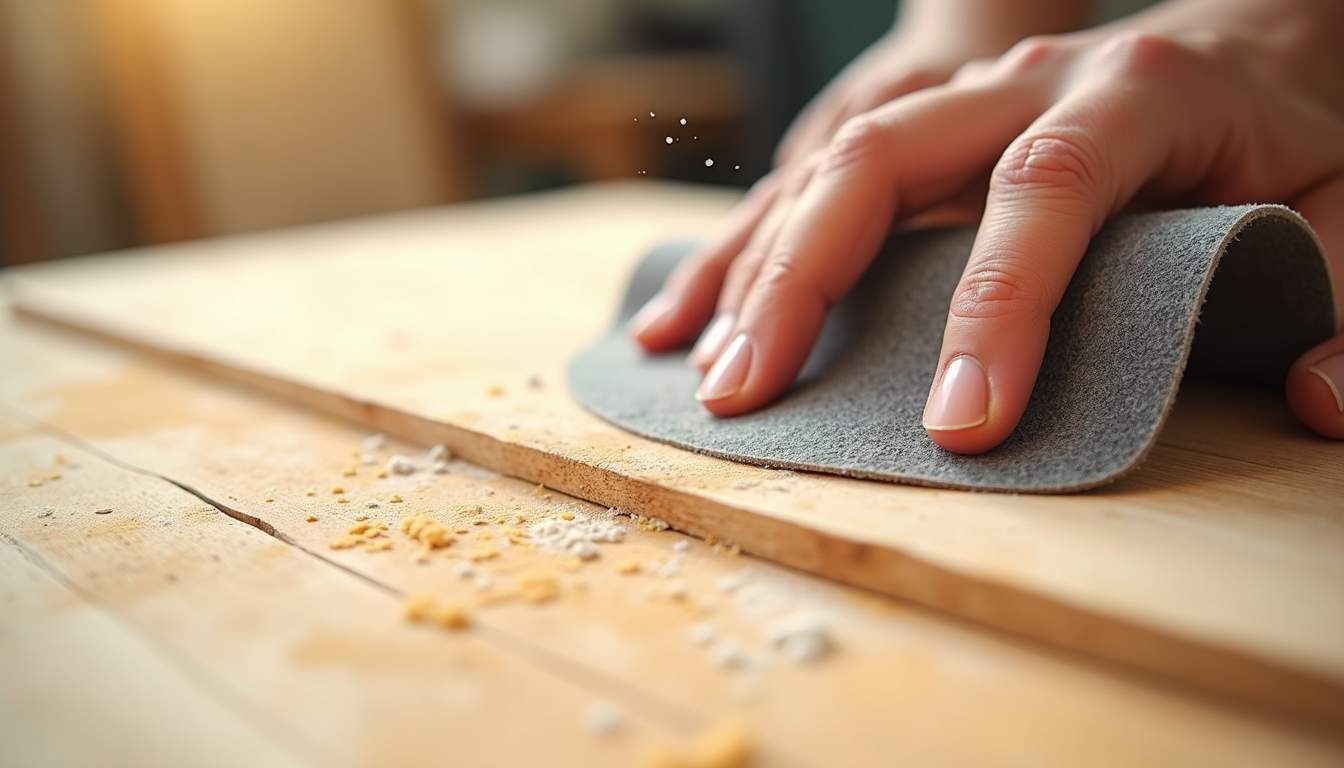
Choosing the Right Grit
Start with medium-grit sandpaper (around 120 grit) to smooth out repairs and any rough areas. Then, progress to finer grits (220 grit or higher) for a silky surface. Always sand in the direction of the wood grain to avoid scratches.
Using Power Tools vs. Hand Sanding
Orbital sanders speed up the process and are great for large flat surfaces. However, hand sanding is better for delicate areas and edges. Combining both methods often yields the best results.
Finishing Your Wooden Door
The finish protects the wood and enhances its beauty. Choosing the right finish depends on the door’s location and your aesthetic preferences.
Staining vs. Painting
Staining highlights the natural grain of the wood and is ideal if you want a classic, warm look. Paint offers more color options and can provide a thicker protective layer, but it hides the wood grain.
For exterior doors, using high-quality exterior-grade stains or paints designed to withstand weather is crucial.
Applying Sealants and Protective Coatings
After staining, apply a clear protective coat such as polyurethane, spar varnish, or lacquer. These sealants guard against moisture, UV rays, and wear. Multiple thin coats with light sanding between each ensure durability and smoothness.
Tips for a Flawless Finish
- Apply finishes in a dust-free environment.
- Use high-quality brushes or foam applicators to avoid streaks.
- Follow manufacturer’s drying times carefully.
- Avoid applying thick coats that can drip or peel.
Maintaining Your Wooden Door
Restoration is just the beginning. Regular upkeep keeps your door looking great and extends its lifespan.
Routine Cleaning
Wipe down the door monthly with a damp cloth to remove dust and dirt. Avoid harsh chemicals that can strip finishes.
Inspect and Touch Up
Look for chips, cracks, or peeling finish every few months. Promptly touch up damaged areas with matching stain or paint to prevent moisture infiltration.
Lubricate Hardware
Keep hinges, locks, and handles working smoothly with periodic lubrication. Use a silicone-based lubricant to avoid attracting dirt.
Weatherproofing
Check weatherstripping and seals around the door to prevent drafts and water damage. Replace worn strips as needed.
When to Call in the Professionals
Some restoration tasks can be handled at home, but certain situations require expert help.
- Extensive rot or structural damage
- Complex refinishing jobs on antique or intricately carved doors
- Hardware repair or replacement involving security features
- Doors that no longer fit or close properly due to frame issues
Professionals have the tools and experience to restore your door safely and effectively, preserving its value and beauty.
Final Thoughts
Wooden doors are more than just entryways; they’re a statement of style and warmth. With proper restoration and ongoing care, they can continue to impress for decades. The process may take some effort, but the results-a stunning, durable door that welcomes you every day-are well worth it.

Start with a thorough assessment, prepare carefully, repair thoughtfully, and finish with quality materials. Then, keep up with regular maintenance to enjoy the timeless appeal of your wooden door for years to come.